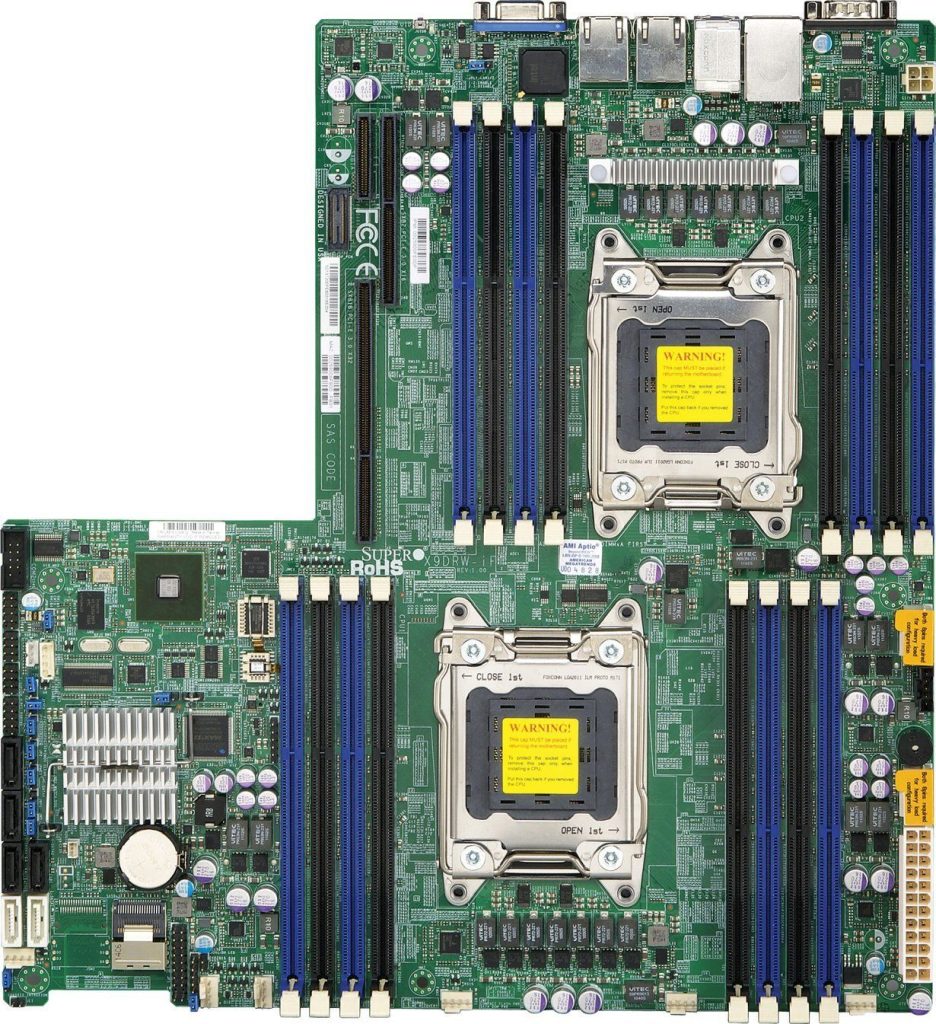
Yesterday evening I posted a detailed tutorial that explains how to flash/update the IPMI firmware on the X9DRW-iF server from Supermicro. Today I’m going to explain how to flash the BIOS on the same hardware. If you’re not familiar with what a BIOS firmware flash is, there’s no shame in not knowing, here is a good explanation. I’ve found the documentation out on the web to be scattered at best, and a little bit confusing. This is why I thought I’d put together a start-to-finish guide here, where we’ll create our own custom bootable ISO, and use it to update to a specific BIOS firmware for the X9DRW-iF.

Overview
We’ll be creating an ISO that can be burned to CD/DVD, flashed to USB, or even mounted virtually using IPMI, then used to update/flash the BIOS on a Supermicro X9DRW-iF. Everything will be explained from start to finish.
Requirements
- FDOEMCD.builder.zip
- The BIOS – You can snag the most current version from www.supermicro.com/support/bios/ by searching for X9DRW-iF)
- A Windows XP machine (other versions of Windows may work, but XP definitely works). If a physical machine is not available, we can very easily set up a Windows XP virtual machine on Windows, Linux, or OS X by downloading VirtualBox, and downloading a Windows XP image from https://archive.org/details/ie6.xp.virtualbox.
Preparation
Once we’re booted into our Windows XP machine (whether it’s a physical machine or VM doesn’t matter), we can download the two files (the builder and the BIOS zip files) listed in the Requirements section. Then we:
- Extract/unzip
FDOEMCD.builder.zip - Extract/unzip
X9DRW4_324.zip, ensuring the contents of this zip file end up in theFDOEMCD/CDROOTdirectory created whenFDOEMCD.builder.zipis extracted/unzipped. - Click Start -> All Programs -> Accessories -> Notepad
- Click File -> Open…
- Browse to where
FDOEMCD.builder.zipwas extracted/unzipped, then openami.bat(highlighted above), and remove the lines highlighted in red below:@echo off REN AFUDOSU.SMC AFUDOSU.EXE AFUDOSU.EXE %1 /P /B /N /K /R /FDT /MER /OPR REN AFUDOSU.EXE AFUDOSU.SMC
- Ultimately,
ami.batshould look like so:@echo off AFUDOSU.EXE %1 /P /B /N /K /R /FDT /MER /OPR
- Click File -> Save, then click File -> Exit to close
ami.bat - Finally, rename
AFUDOSU.smctoAFUDOSU.exe
Creating the ISO
To create a custom ISO that includes our BIOS update for the Supermicro X9DRW-iF, we simply open Windows Explorer, and double-click the makeiso.bat file contained in the FDOEMCD directory. This script will take the firmware we’ve added to the CDROOT directory, and bake it into a bootable ISO that will be created in the FDOEMCD directory. This ISO will be named fdoem.iso, and it will include everything needed to flash/update the BIOS on the X9DRW-iF.
Booting to the ISO and flashing the BIOS
Now we have a few options. They are:
- “The Old Method” – Burn this new, custom-baked
fdoem.isofile to a CD-R or DVD-R - “The Newer Method” – Flash this ISO to a USB drive
- “The Newest, Fancy and Convenient Method” – Mount the ISO directly over the IPMI network connection on the X9DRW-iF
Regardless of how we choose to boot the X9DRW-iF from this ISO, we’ll be dropped to a DOS prompt. The command to update the BIOS will be ami.bat X9DRW4.324. For example:
A:\>ami.bat X9DRW4.324
Colophon
I hope this is useful for folks who are apprehensive or confused about how to update the BIOS on a Supermicro X9DRW-iF server. I found that the documentation that is out on the web isn’t very clear, which is what motivated me to share this in the first place. As always, any questions and comments are not only welcome, but encouraged. I do my best to respond to all of them!
Leave a Reply